Streamlit webApp for Pixels
A web application for ITk Pixels work can be found here
The webApp is written in Python3 using Streamlit package with itkdb wrapper for PDB API access. The application is containerised with docker and run from Cern's OpenShift platform.
A quick introduction to Streamlit and a tutorial on how to build your own application can be found here.
NB This webApp is not (and is not designed to be) the only PDB tool for Pixels: other tools are available.
Using the webApp
The application is accessed through the user's web browser and only has access to local files via browser interactions
- there is no access to user's directory structure
The webApps are arranged in different themes (usually around a database interaction, e.g. testType upload, component registration, etc.). Each theme has a several of pages. Common to all themes is the Authentication and Broom Cupboard pages used for gaining access to the PDB and debugging, respectively.
Logging in
Access to the ITk Production Database (PDB) via the API requires two passwords to generate an access token.
Setting PDB passwords
If you require PDB passwords to access:
- Go to unicorn website
- Select the Plus4U button (top righthand side)
- Select “Cannot log in?” in the pop-up (bottom righthand side)
- Input your email to receive instructions to finish registration
For screenshots please follow the instructions here
Accessing the webApps is done through the authentication page (common to all app themes). The webApp uses the pythonic itkdb API wrapper to send user passwords to PDB and retrieve an access token.
- itkdb does not use Cern's Single Sign-On, hence neither does the webApp
Users can input their database credentials in two ways:
- enter directly into text boxes (default)
- upload a json file through the browser
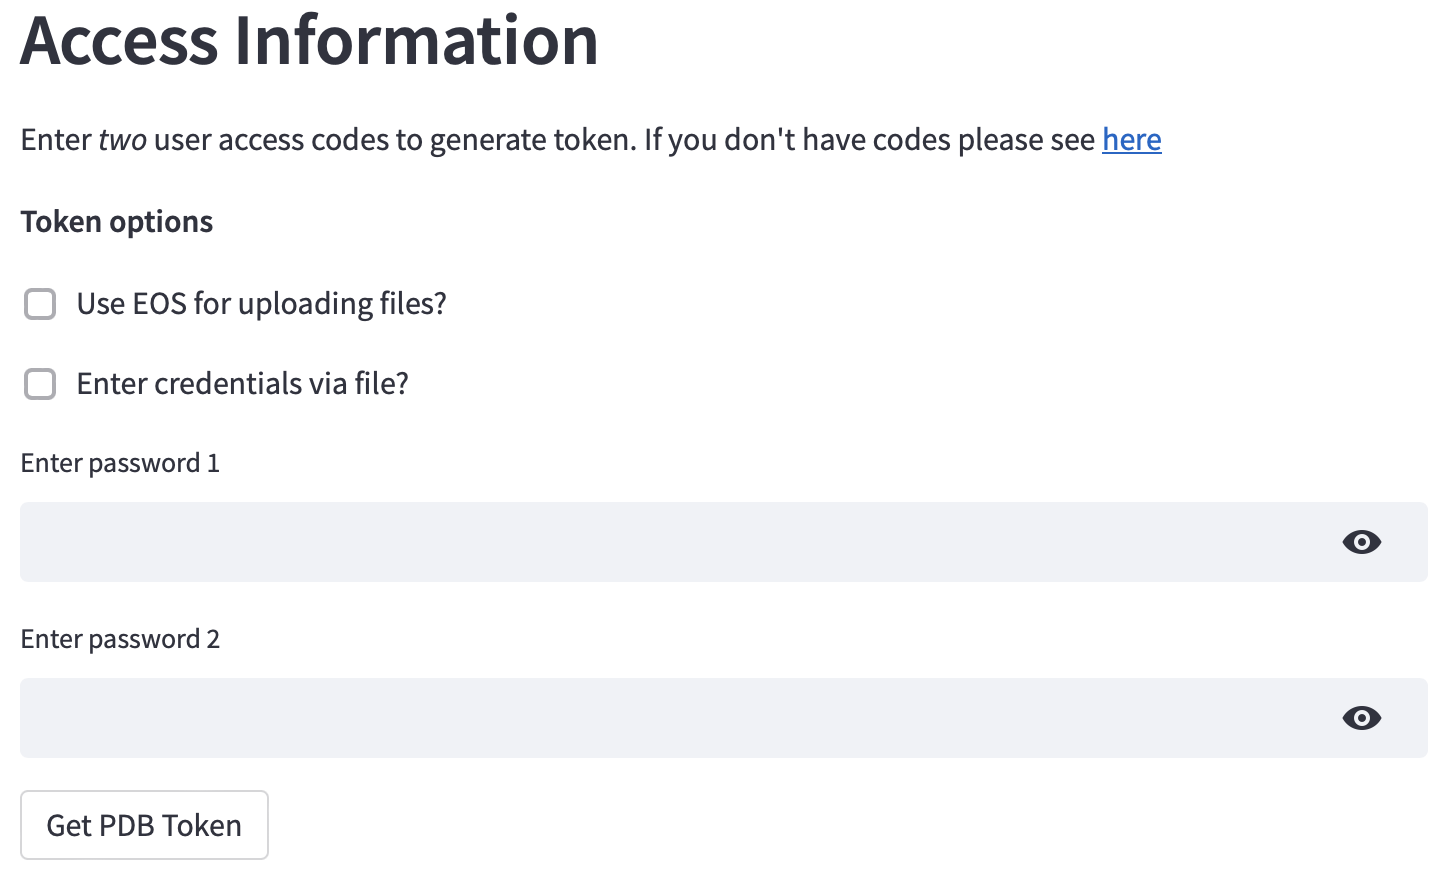
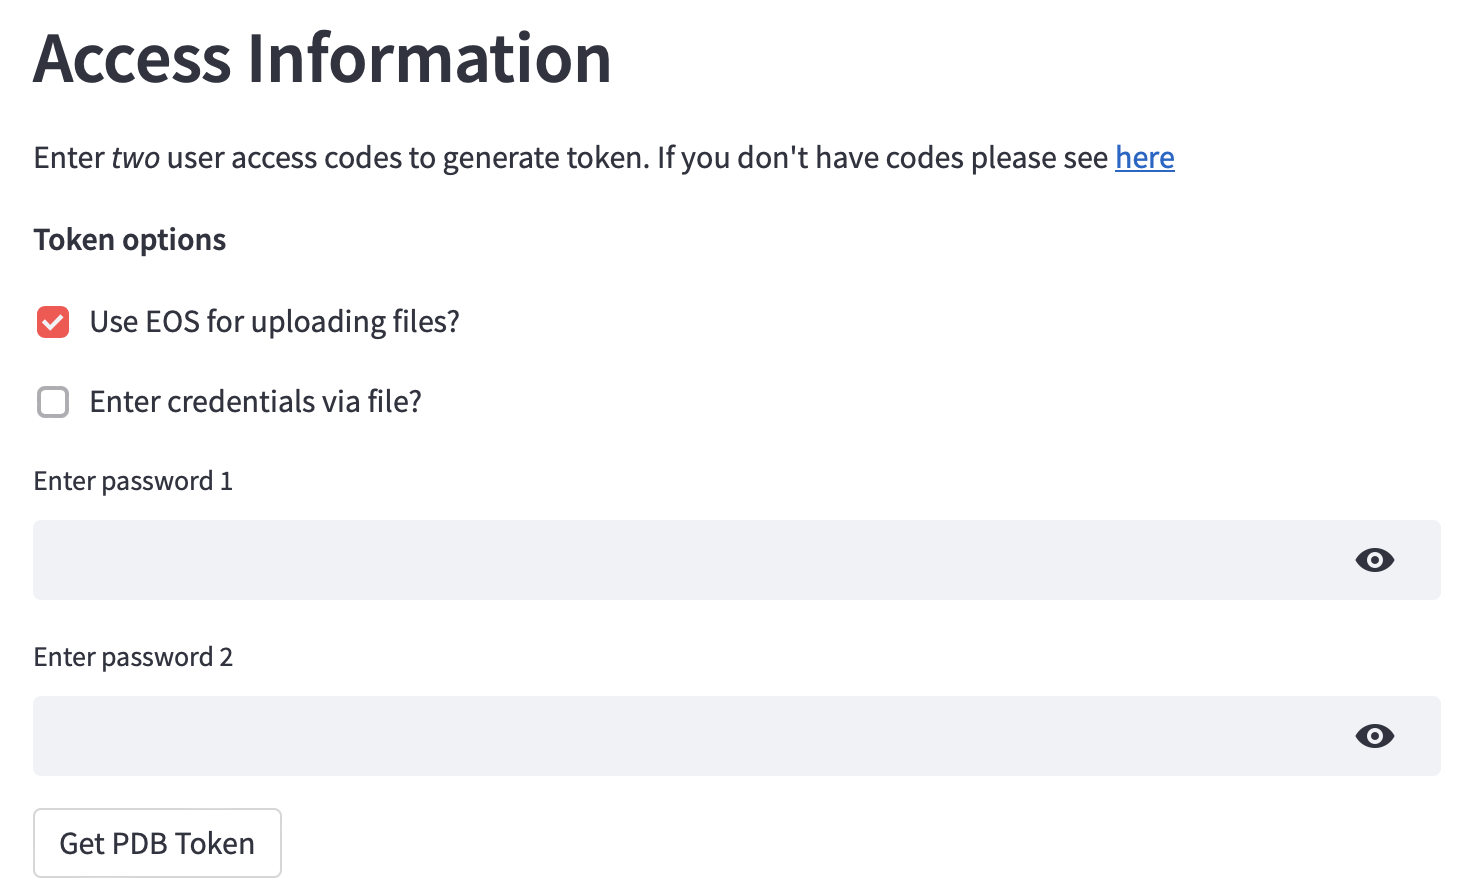
1. enter directly (default)
The default input method is to directly enter the passwords to text boxes.
Once the passwords have been entered click the "Get PDB Token" button.
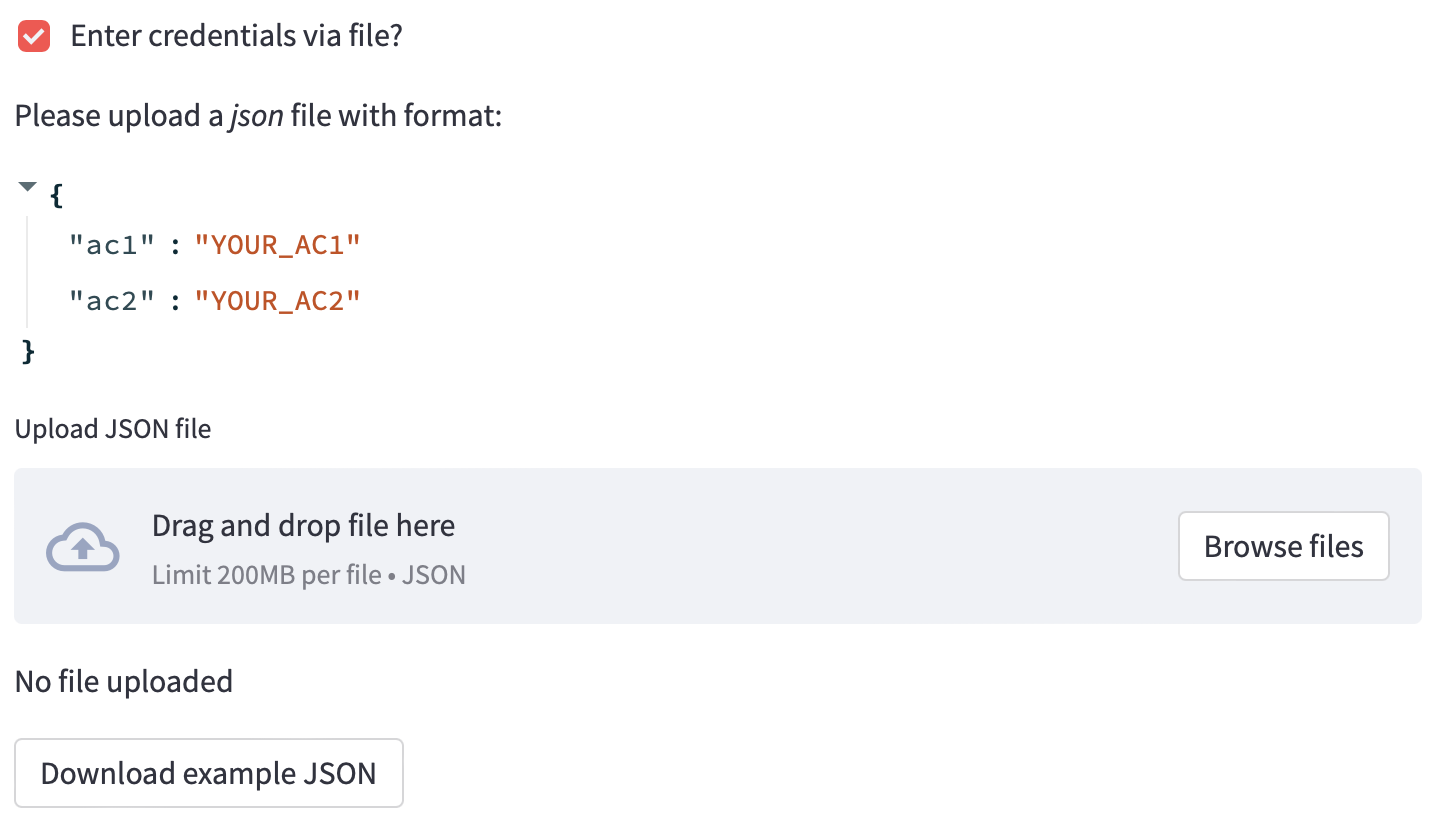
2. upload json
An alternative (and perhaps more convenient) method is to upload a json file with passwords inside.
- An example file can be downloaded from the page and editted by the user
Once you have a json file ready:
- Select the "Enter credentials via file" check box
- Drag & drop a file into the grey box or click the "Browse files" button and select the file using the pop-up window.
- The passwords should be sent when the file is entered
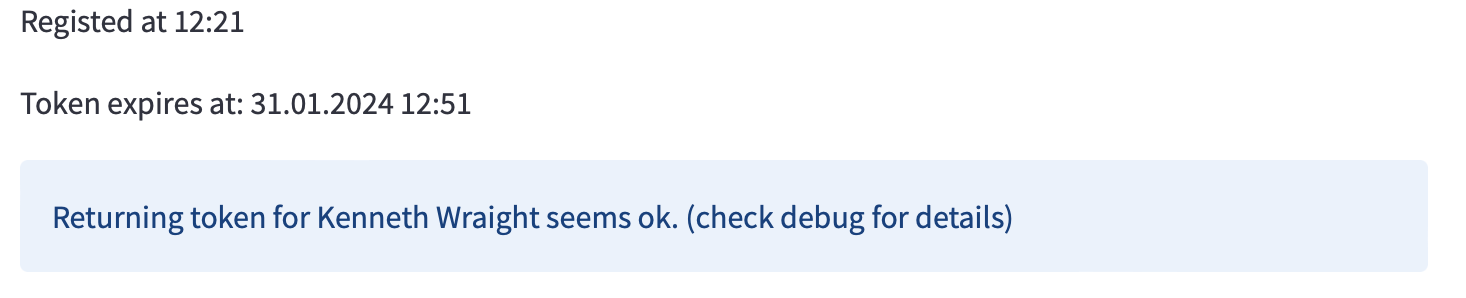
Check authentication
When data is correctly entered the time and user's name should be diplayed below the input region.
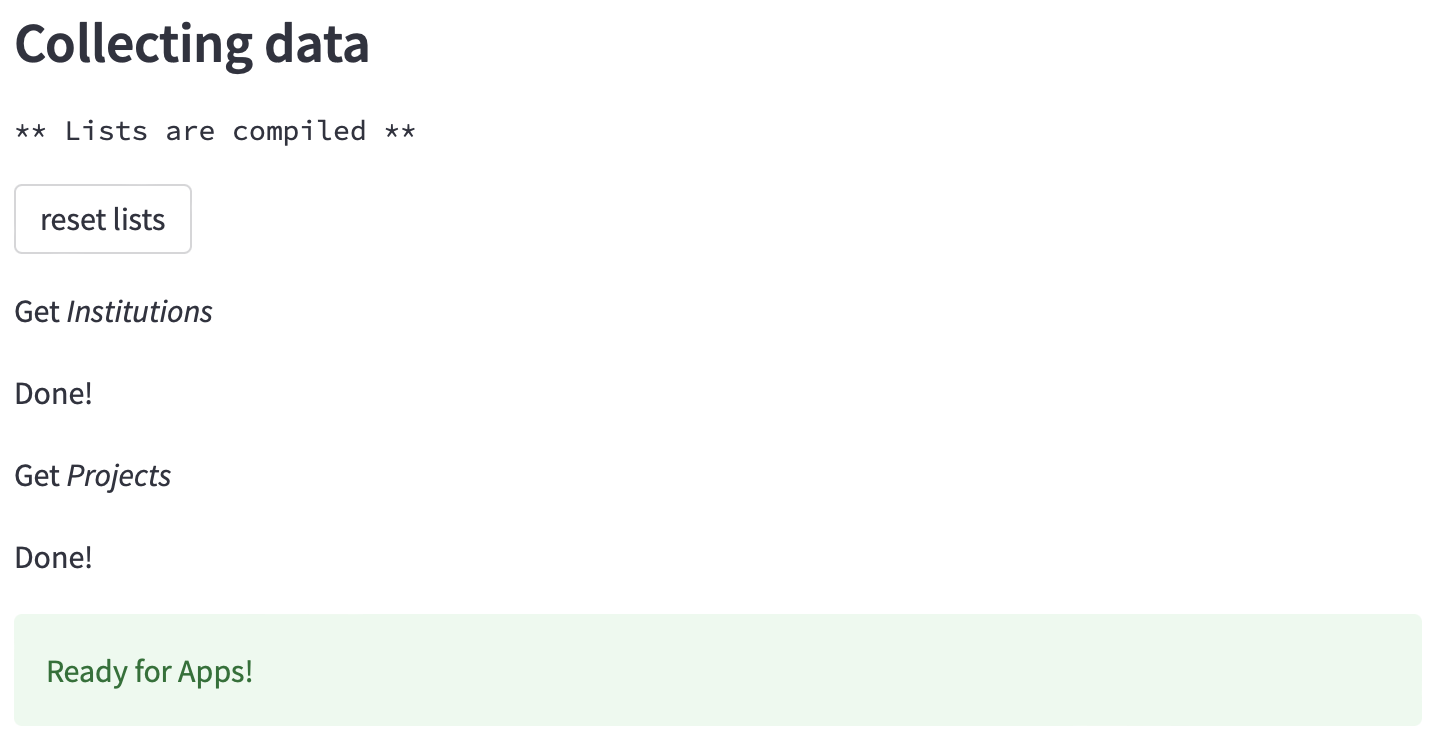
The final part of authenitcation is to collect useful information from PDB:
- list of projects
- list of components
- user's default institution and project (first if list)
When this is complete a green box will be shown.
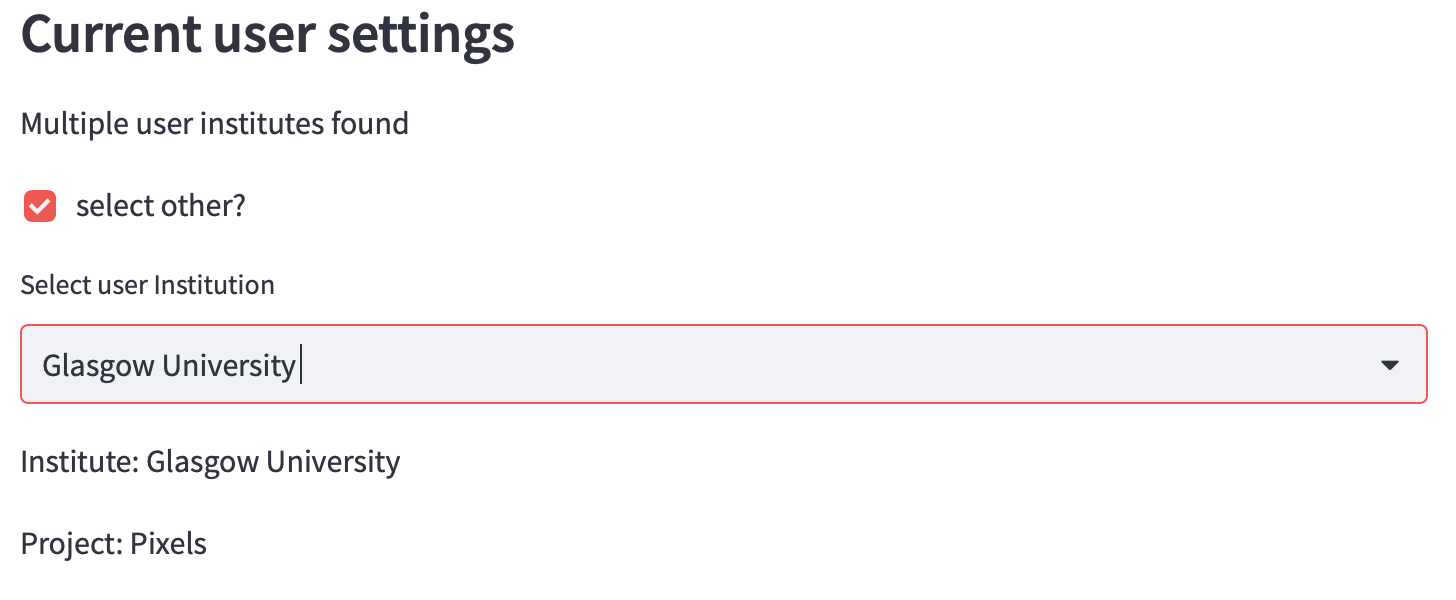
User Settings
Current user setting are displayed in "Current user settings" section.
If the user has multiple institutions associated with their PDB account and wishes to change from the default:
- Select "select other?" checkbox
- Select alternative institution from dropdown menu
Option to use EOS
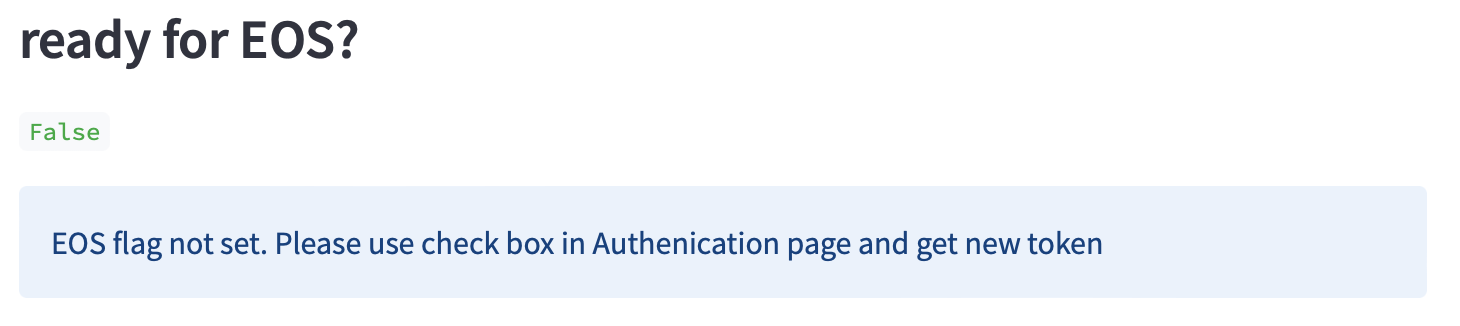
If EOS use is required for large file uploads/queries (files >64kB, e.g. images) a token must be requested with a flag (for itkdb) to use the API's EOS functionality.
This functionality is activated by in the webApp. This can be verified as the "Use EOS for uploading files" box is checked in the "Token options" section above the authentication data entry.
- unchecking this box and obtaining a new token will result in loss of EOS functionality
If EOS functionality is required for a page (e.g. genericApp, Image Upload page) but not activated a message will alert the user. As EOS functionality is activated by default this is not expected.
webApp Small Print
Details of the webApp can be found in thee "Small Print" section at the bottom of the lefthandside bar.
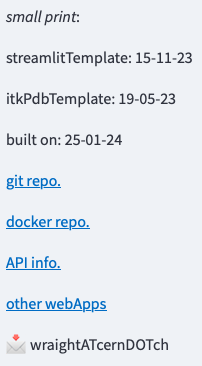
Docker Image Heirarchy details:
- streamlitTemplate: (base) streamlit image version
- itkPdbTemplate: (middle) image including itkdb version
- built on: (top) webApp image deployment date
Repositories:
- git repo: gitlab repository of webApp
- docker repo: dockerHub of webApp
Useful infomation:
- API info: ITk PDB API documentation
- other webApps: a link to page of links of ITk streamlit webApps
- developer email
commonApp
The idea of the commonApp theme is to provide functionality for PDB interactions which are likely common to all institutions. Since time of developing several features have since been added to Unicorn GUI.
Pages:
-
Inventory: get components at institution
-
Shipping: get shipment history, create shipmnent, accept shipment
-
Component Check: get basic component information
- select component by identifier or from institution inventory
- view identifiers: serialNumber, barcode, alternativeIdentifier
- view component relations: parents, children
- option to disassembled components
- view: stage history
- option to set current stage
- view: batch information
- option to add component to batch
-
Stage Check: check (componentType specific) stafge and test uploads
- select component by identifier or from institution inventory
- get stage check list (optional download)
- get test check list (optional download)
-
Json builder (TBC): construct object json for PDB upload
genericApp
The idea of the genericApp is to provide generic functionality for the most common PDB tasks, e.g. component registration and test(Run) uploads. Some scaling functionality is provided for multiple tasks - a formatted file must be provided (examples are provided on the relevant pages).
NB Uploader Beware: no data quality checks or analysis is performed in these generic cases. For component/test specific data manipulation use a specific tool (webApp or otherwise).
Pages:
-
Single Component: register a single component
- select component type, sub-type
- set properties (required and optional)
- option: register to batch
-
Multi Component: register multiple components
- data must be supplied via formatted csv or xls file - examples are provided on the page
-
Single Test: register data for a single test (a.k.a. testRun)
- select component type and test type
- set properties (i.e. non-measurement data) and results (i.e. measurement data)
-
Multi Test: register data for multiple tests
-
data must be supplied via formatted csv or xls file - examples are provided on the page
-
Single Assemble: assemble child component(s) to parent component (all components must be already registered in PDB)
- select parent component
- select child components
-
Multi Assemble: assemble child component(s) to multiple parent components (all components must be already registered in PDB)
-
data must be supplied via formatted csv or xls file - examples are provided on the page
-
Single Stage Set: set component stage
- view: stage check: tests uploaded per stage
- Set component stage
-
Multi Stage Set
-
data must be supplied via formatted csv or xls file - examples are provided on the page
-
Batches: register and populate batches
- select batch type - batch type registration is not supported. Use Unicorn
- option: register new batch
- select batch
- select components to populate
- option: remove components
- select batch type - batch type registration is not supported. Use Unicorn
-
Image Upload: upload/view component/test images
- NB PDB token with EOS flag required (see above for instructions)
- select PDB object (component or testRun) to associate with image
- option: view exisitng images assoiciated with component (if any)
- upload image
-
ParameterComp: compare test parameters from repeated tests across component production
- select component
- select test type
- select parameter
- supports single values and lists - dictionaries not currently supported
- view: comparison plot
Pixels Specific themes
The pixels webapp is currently separated into 7 themes. The CoffeeApp theme was created just to verify functionality of the webapp; you can use it to upload the fact that you've had coffee recently, or to see that other people at your institution have drank coffee. The reportingApp is set to be replaced with a link to the actual app, where it can be used to view the status and location of components. The commonApp and the genericApp are covered above.
ModuleApp
The moduleApp has 5 unique pages for uploading and accessing information related to the pixel modules.
Translation
The translation page lets users choose between Front End, PCB, and Sensor components. On the Front End option, inputting wafer ID and tile position yields the ATLAS Serial Number (ASN). The PCB option is under construction. The sensor option gives the ASN when given the alternative identifier for the sensor.
Trim Check
The trim check is related to wirebonding of FE chips to the PCB: this page is not currently 100% functional, but the performance issues are under review.
PCB Metrology
This page is under construction, but metrology can be uploaded sans analysis via the genericApp-> Single Test or Multi Test pages.
IV Upload
Successfully allows for upload and analysis of IV testing. Example files are provided in .txt and .json format, and the example formatting should be followed.
Glue Coverage
Upload images of assembled glass dummy modules here: the app will visually determine the % glue coverage, which can be used to ensure proper gluing techniques before beginning assembly of silicon dummies and real modules.
SQApp
The site qualification app is used by sites to upload their qualification slides on the "Update SQ" page, and the "Review SQ" page is used to check the slides uploaded by other sites in order to approve or disapprove of them.
wirebondingApp
This app currently has one unique page, useful for uploading the results of the wirebonding pull tests. There are plans in the works to add a dedicated wirebonding information upload page, and possibly move both pages from this app to the ModuleApp.
To upload pull testing results, ensure first that your .xls or .csv file matches the formatting of the example given on the Pull Test Upload page. You may drag and drop or browse your files to select it. If the component serial number is in the title of the file, then the webapp should automatically pull that. Known bug: currently, the option to set the institution in the .xls or .csv file does not work properly- you will therefore need to edit the schema manually to change from the default value of GL to the appropriate institution. You should also edit the run number as appropriate. Before Uploading, make sure that the box to "Convert values to text?" is checked. If you've done everything right, you should see the line "**Successful uploadTestRunResults**:" followed by the run ID.
TODO